Checking and Cleaning the Filter
Washing machines contain a filter between the drum and the pump. This is to prevent any loose items left in the washing such as coins from damaging the pump. If the filter becomes blocked this can result is poor water drainage and sometimes leaks.Locate the Filter
Most filters are now located at the front of the machine to allow easy access to them to check and clean, normally then will have a flap as shown below.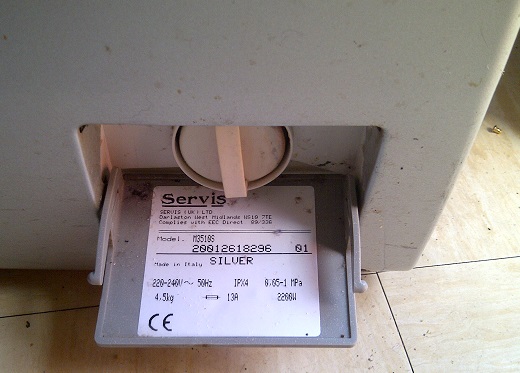
Removing the Filter
Before removing the filter make sure the washer has finished and there is no water left in the machine. There will still be a small amount of water that comes out that is left in the bottom of the pipes. Most filters have a rubber seal that is made water tight with a screw. The first part of removing the filter is to unscrew this as below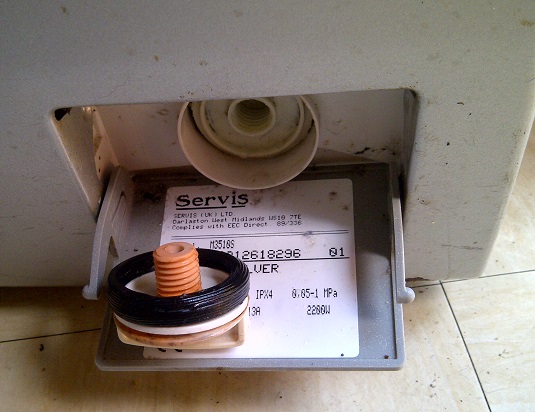
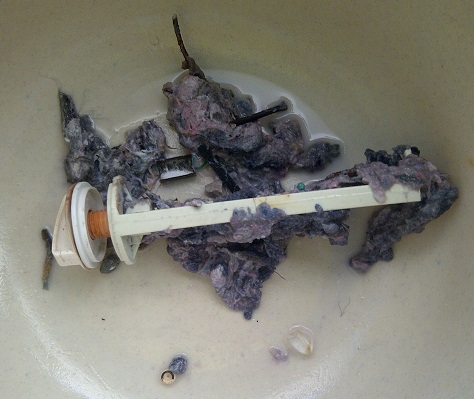
Once the filter has been unscrewed, the filter can be pulled out. Image below shows the sort of thing that can be caught in the filter, quite often loose fibres will collect and form a sludge.
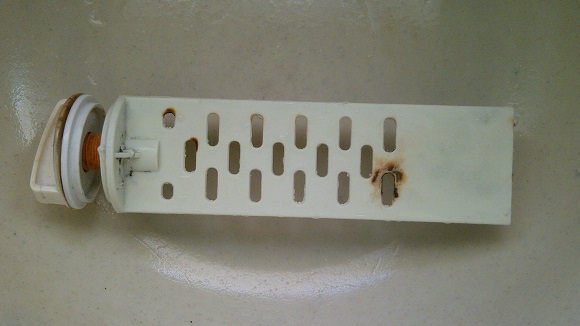
Cleaning the Filter
Cleaning is a messy job, but it usually just involves removing all the items and sludge from the filter and placing in the bin. Of course do not try and wash the main items down the sink as this is likely to block that. Once all the main material has been removed, you can use a brush to clean any small bits of debris before rinsing. Once finished the filter should be clean as shown below